Homemade Chocolate Ice Cream Recipe (Rich & Creamy)
There’s something truly special about homemade chocolate ice cream. The texture is creamier, the flavor is deeper, and you can control exactly what goes into it. This classic recipe delivers a smooth, rich chocolate taste using simple ingredients you can easily find at home. Whether you’re making it for family, guests, or just to treat yourself, this chocolate ice cream is sure to impress.
Ingredients
-
2 cups heavy cream
-
1 cup whole milk
-
¾ cup granulated sugar
-
½ cup unsweetened cocoa powder
-
100 grams dark chocolate (chopped or chocolate chips)
-
4 large egg yolks
-
1 teaspoon vanilla extract
-
A pinch of salt
Step 1: Mix the Dry Ingredients
In a medium saucepan, whisk together the sugar, cocoa powder, and salt. This step helps break up any cocoa lumps and ensures a smooth chocolate flavor later. Slowly add the milk while whisking continuously, forming a smooth mixture.
Step 2: Heat the Milk Mixture
Place the saucepan over medium heat and warm the mixture, stirring frequently. Do not let it boil. Once the mixture is hot and steaming, add the chopped dark chocolate. Stir until the chocolate is completely melted and the mixture looks glossy and smooth.
Step 3: Prepare the Egg Yolks
In a separate bowl, whisk the egg yolks until slightly pale. To prevent the eggs from scrambling, slowly pour about half a cup of the hot chocolate mixture into the egg yolks while whisking constantly. This process is called tempering and is essential for a creamy custard base.
Step 4: Cook the Custard
Pour the tempered egg yolk mixture back into the saucepan with the remaining chocolate mixture. Cook over low to medium heat, stirring constantly with a wooden spoon or spatula. Continue cooking until the custard thickens slightly and coats the back of the spoon. This usually takes 5–7 minutes. Do not boil.
Step 5: Add Cream and Vanilla
Remove the saucepan from heat and stir in the heavy cream and vanilla extract. This step adds richness and balances the chocolate flavor. Mix well until everything is fully combined.
Step 6: Chill the Mixture
Strain the mixture through a fine sieve into a clean bowl to remove any lumps. Cover the bowl and refrigerate for at least 4 hours, or preferably overnight. Chilling the base ensures smoother ice cream and better texture.
Step 7: Churn the Ice Cream
Once the mixture is fully chilled, pour it into your ice cream maker and churn according to the manufacturer’s instructions. This usually takes 20–25 minutes, until the ice cream reaches a soft-serve consistency.
Step 8: Freeze Until Firm
Transfer the churned ice cream into an airtight container. Smooth the top, cover, and freeze for 3–4 hours until firm. For best results, let it sit at room temperature for a few minutes before scooping.
Tips and Variations
-
For extra richness, use bittersweet chocolate instead of dark chocolate.
-
Add chocolate chips, nuts, or brownie pieces during the last few minutes of churning.
-
If you don’t have an ice cream maker, freeze the mixture and stir vigorously every 30 minutes for 3 hours to reduce ice crystals.
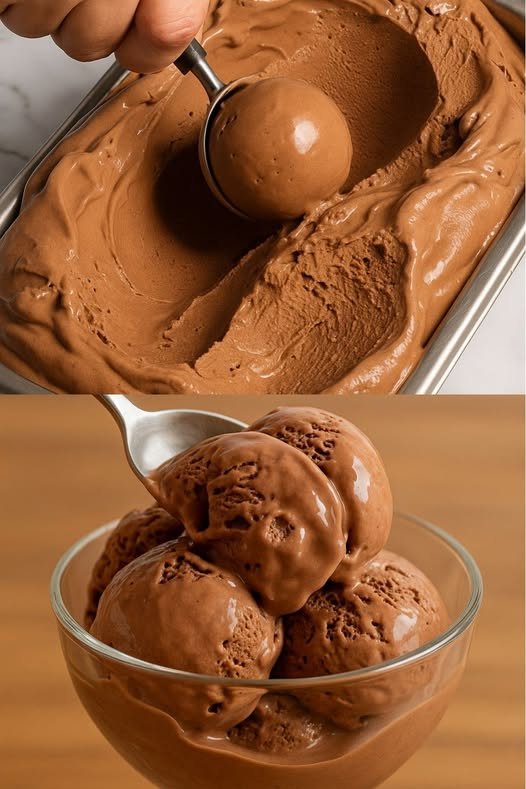
Serving Suggestion
Serve your homemade chocolate ice cream in cones or bowls, topped with chocolate syrup, whipped cream, or fresh berries. Each scoop delivers a deep chocolate flavor with a silky smooth texture that store-bought ice cream simply can’t match.
Enjoy your homemade chocolate ice cream!